
How to Create and Attach OCI Block Storage to a Linux Instance
Introduction
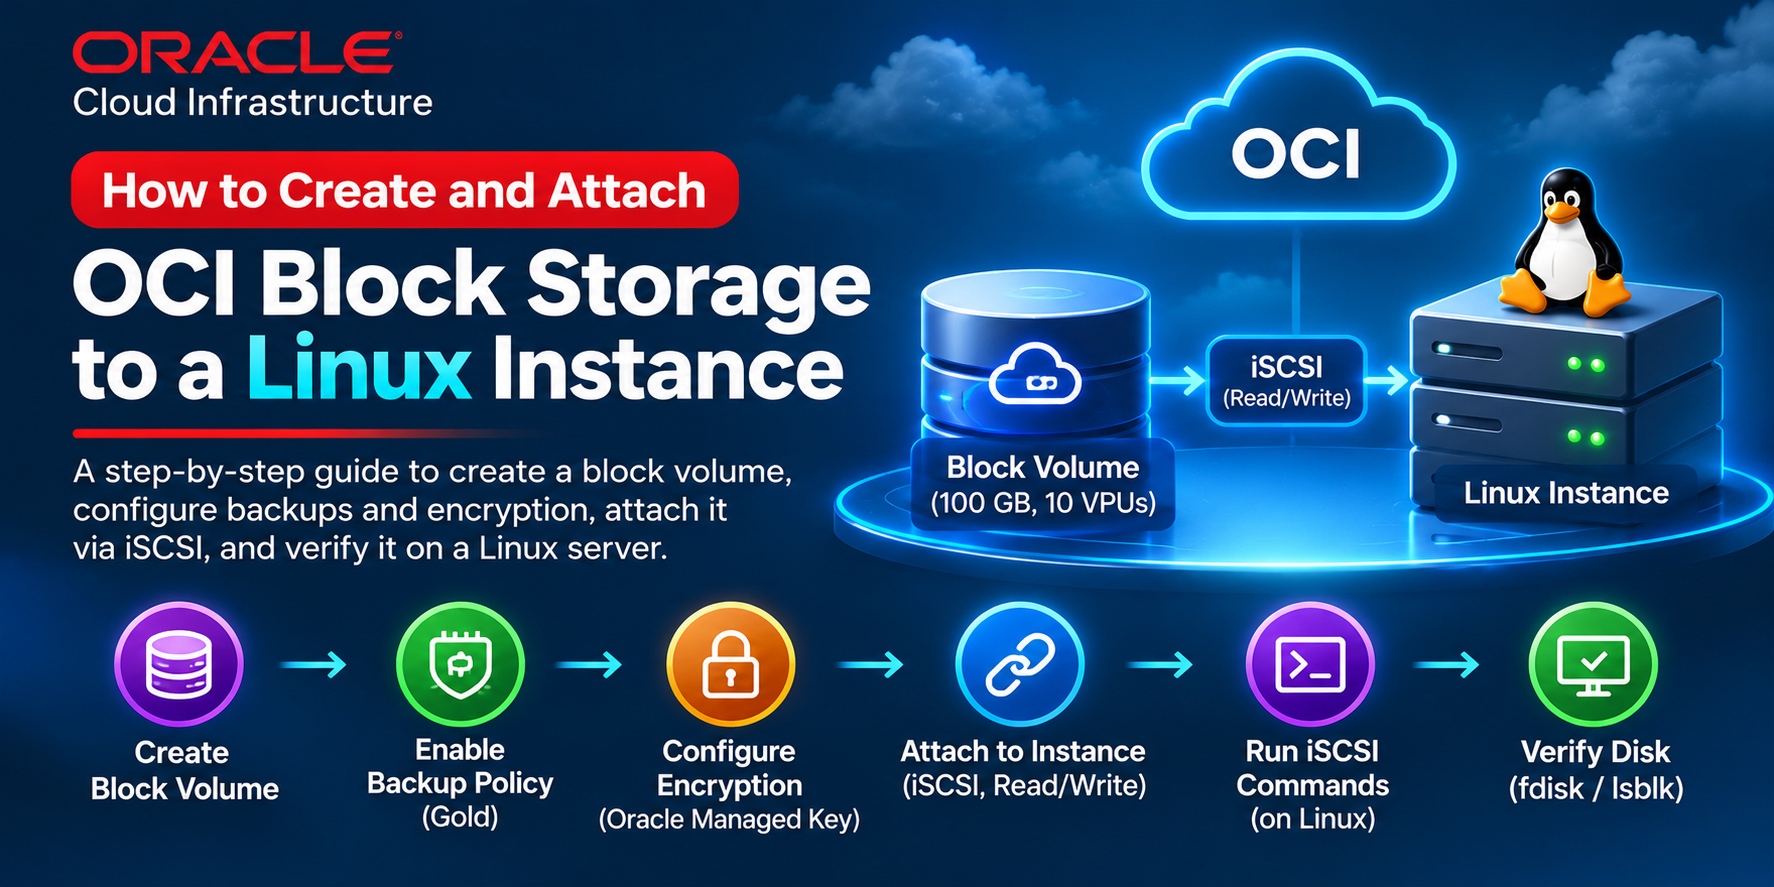
Oracle Cloud Infrastructure (OCI) Block Volume provides persistent block storage that you can attach to compute instances. In this example, we will create a block volume, configure its performance, backups, and encryption, attach it to an existing Oracle Linux instance using iSCSI, and verify that Linux recognizes the disk.
This tutorial follows a practical OCI Console example using a 100 GB block volume with Balanced performance (10 VPUs/GB), the Oracle-defined Gold backup policy, and Oracle-managed encryption keys.
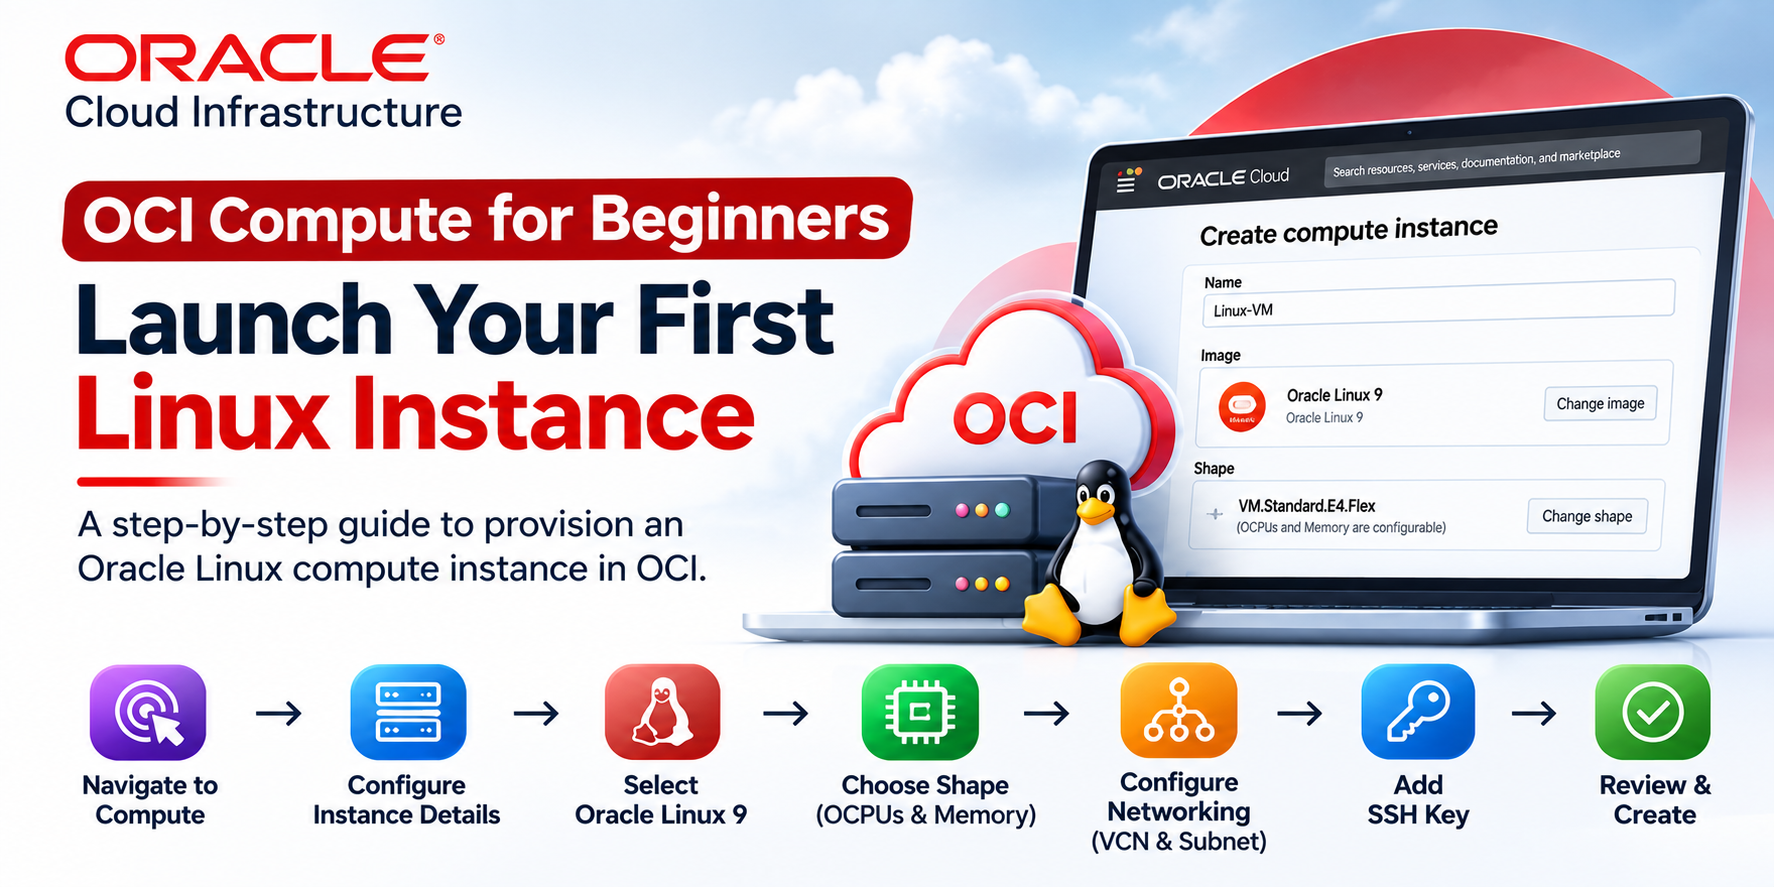
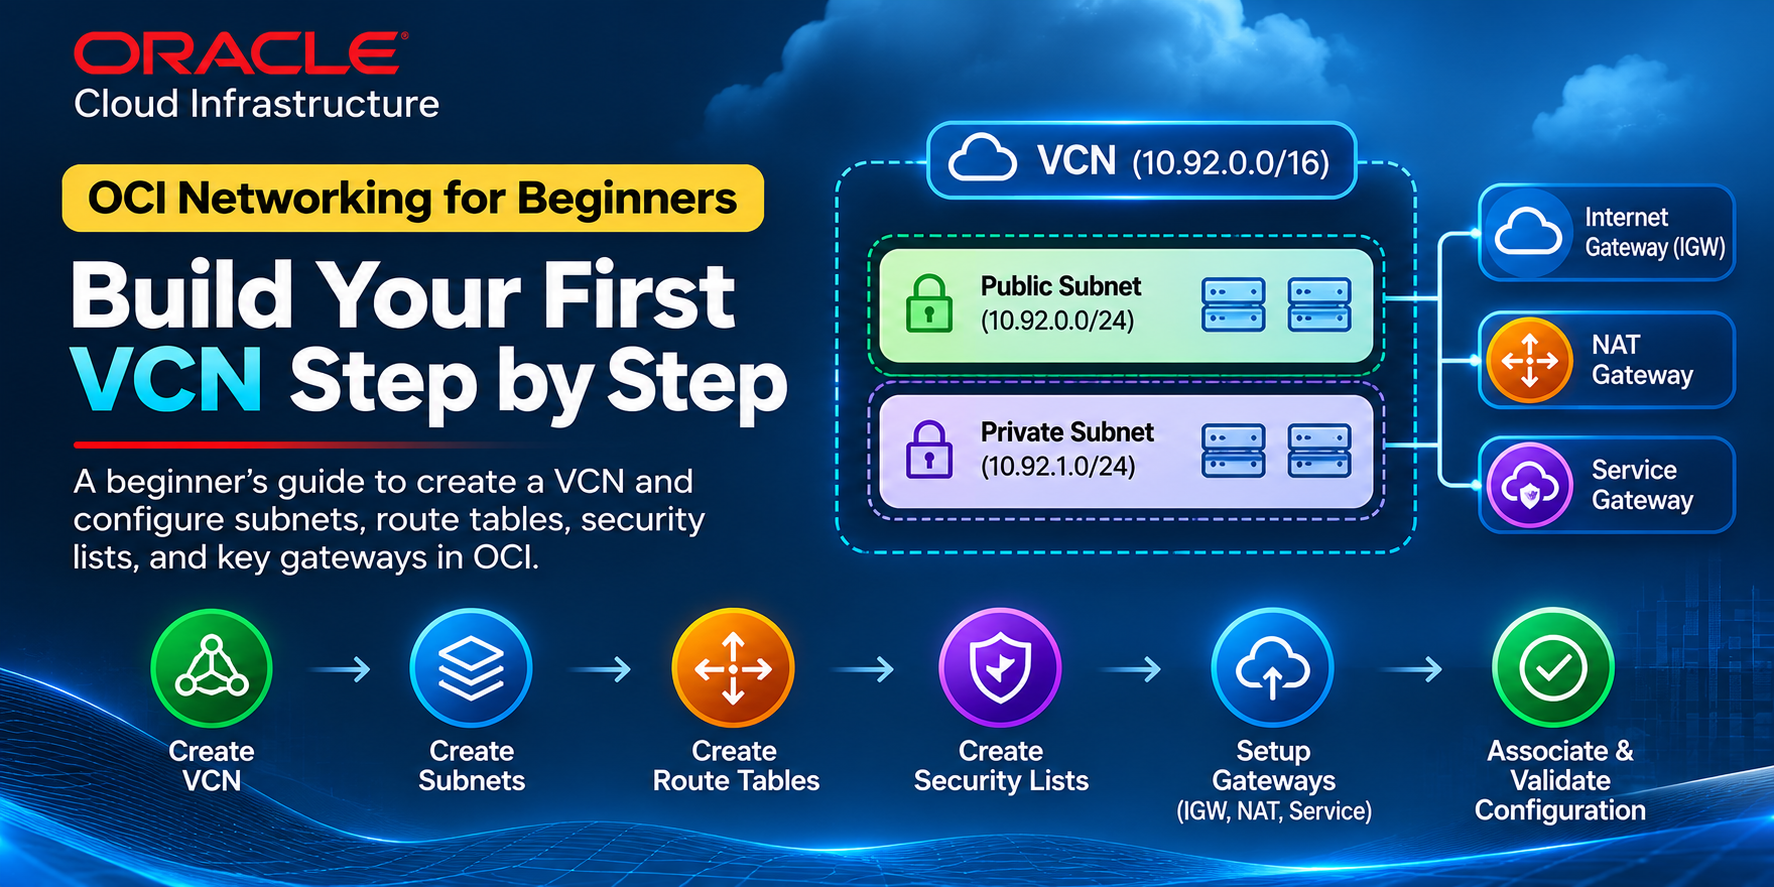
Prerequisites: An existing OCI Linux compute instance, a VCN and subnet already configured for that instance, permission to manage block volumes and attachments, and SSH/sudo access to the Linux server. Select a block volume in the same availability domain as the target instance when required by the attachment configuration.
1. Open OCI Block Volumes
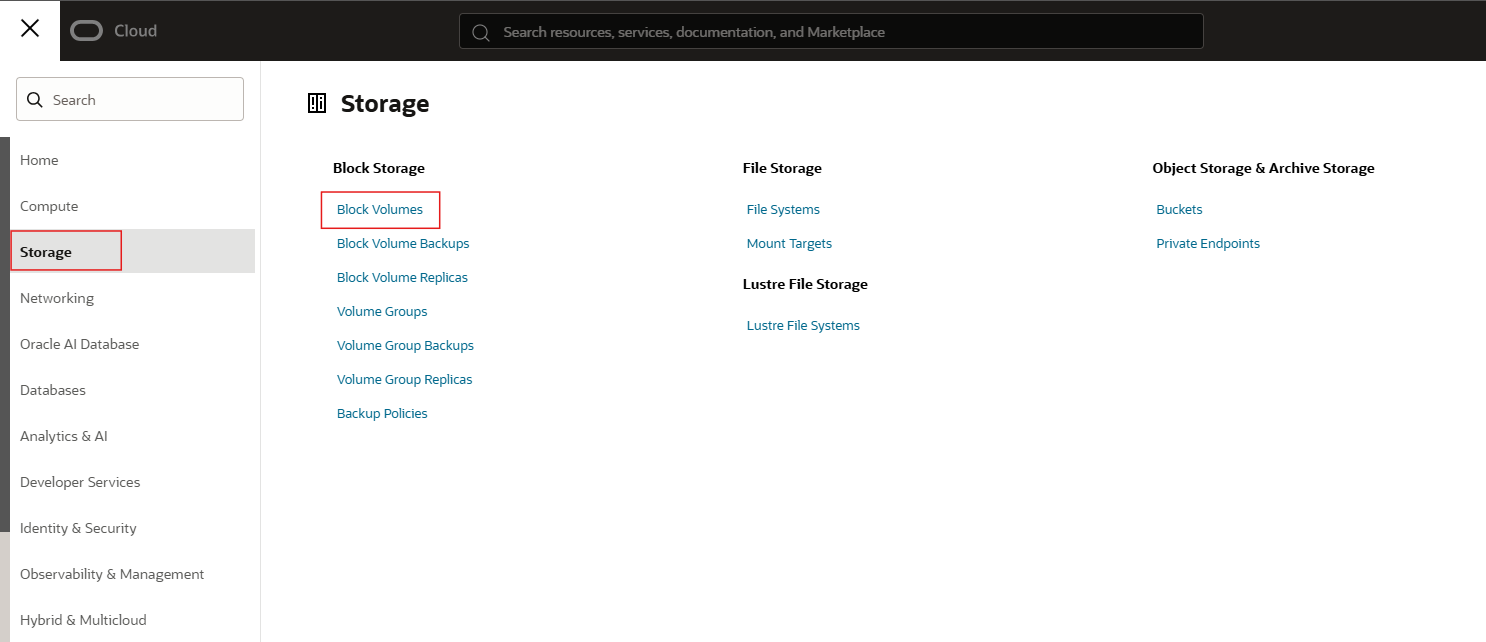
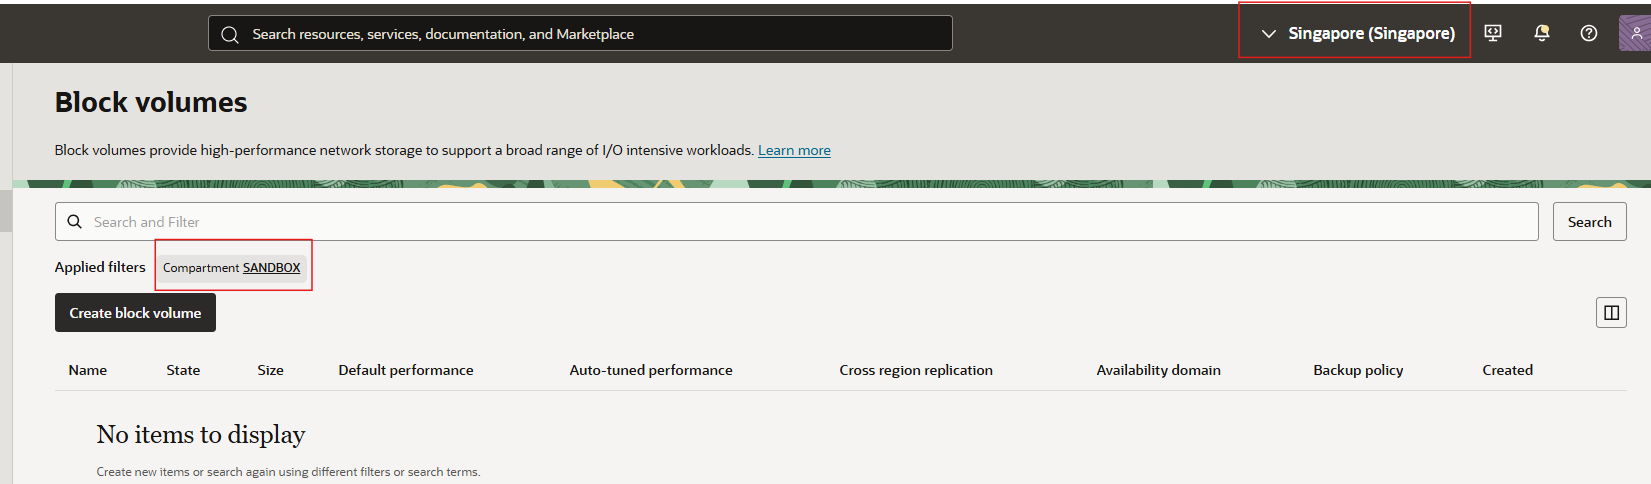
Sign in to the OCI Console and navigate to Storage → Block Volumes. Confirm the selected region and compartment, then click Create Block Volume.
2. Name the volume and select its placement
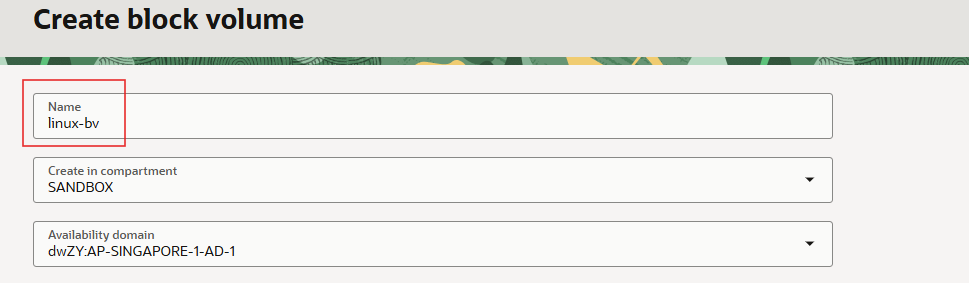
Enter a descriptive name, such as linux-bv, confirm the compartment, and select the appropriate availability domain (AD) for your compute instance.
3. Configure capacity and performance
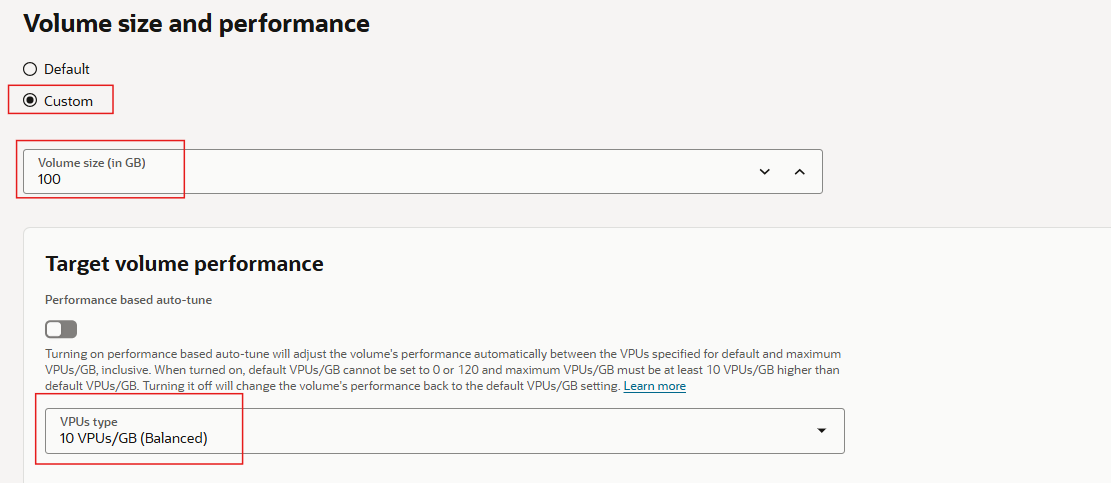
Under Volume size and performance, choose Custom, set the size to 100 GB, and select 10 VPUs/GB (Balanced). Higher performance levels may be appropriate for workloads requiring more IOPS or throughput, subject to service limits and cost.
4. Enable a backup policy
In Backup policies, select the Oracle-defined Gold policy, as shown in the example.

5. Choose replication and encryption settings
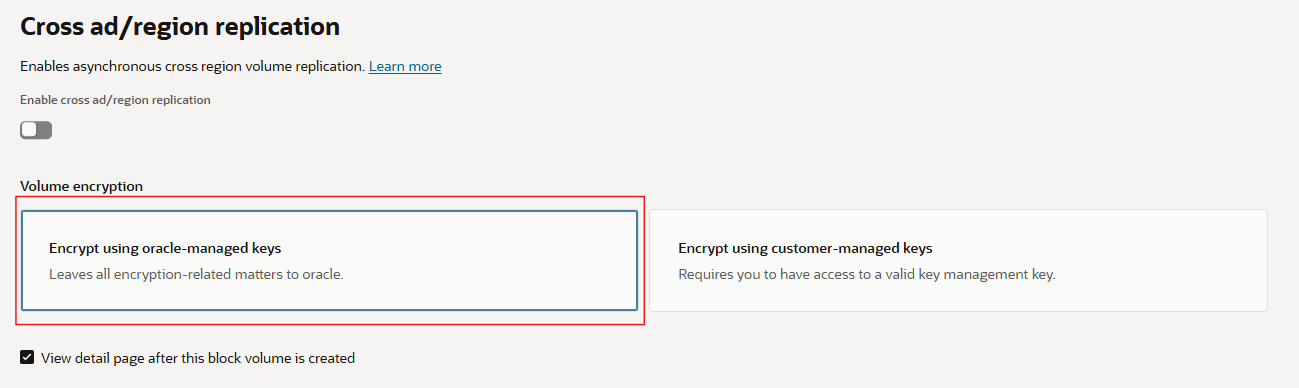
For this example, I will leave cross-region replication disabled. Under Volume encryption, choose Encrypt using Oracle-managed keys. OCI also offers customer-managed keys for organizations with specific key-management requirements.
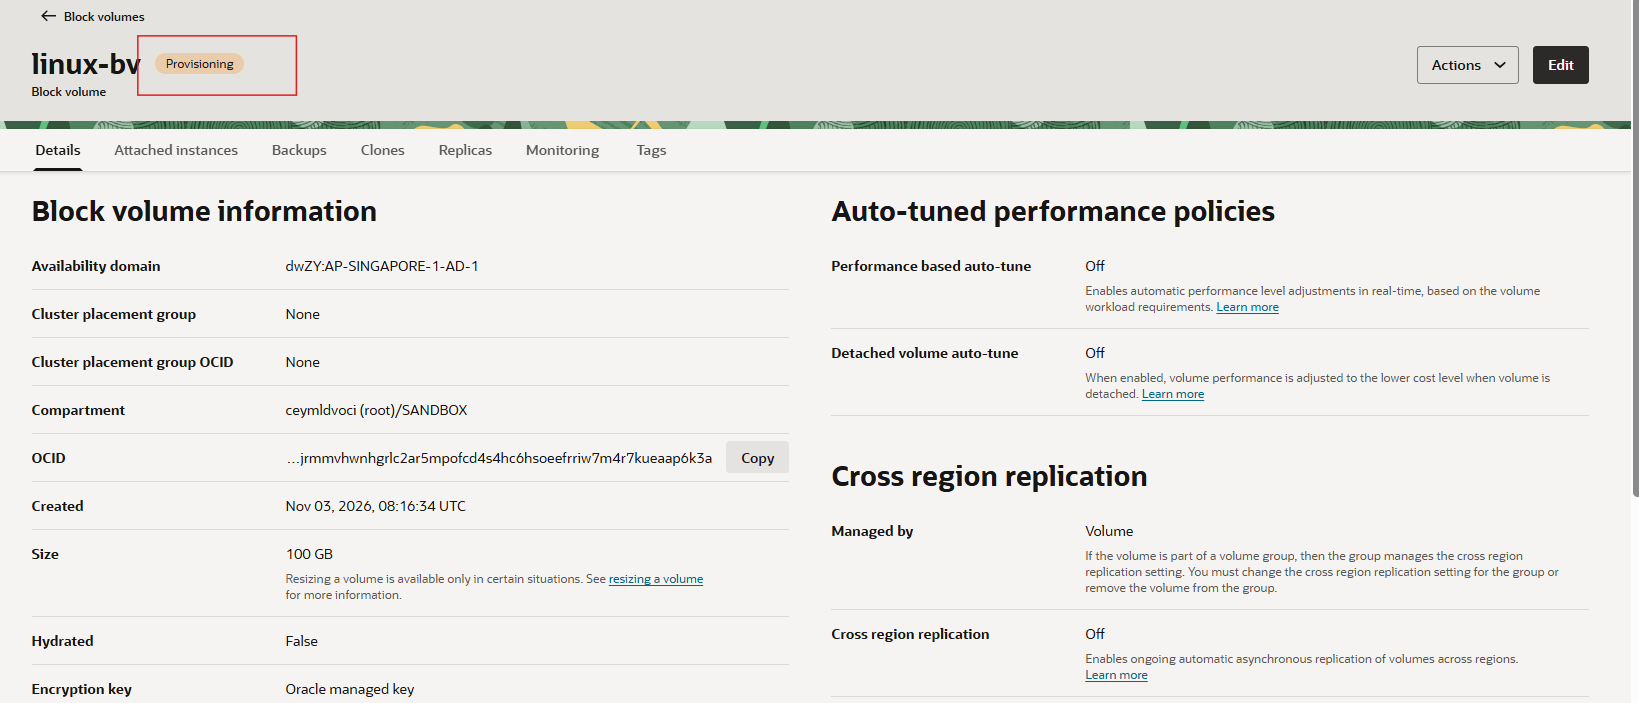
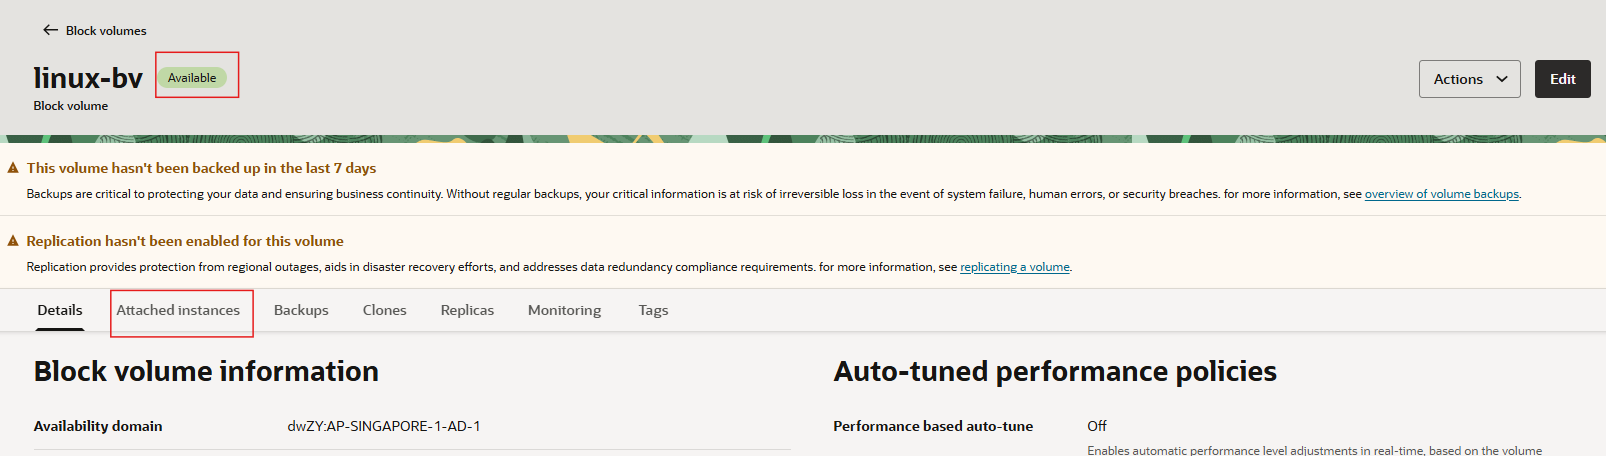
Click Create Block Volume. OCI will begin provisioning the volume; wait for its state to become Available before proceeding.
6. Attach the volume to the Linux instance
Open the new block volume and select Attached Instances → Attach to Instance. In the attachment dialog, choose:
- Attachment type: iSCSI
- Access type: Read/Write
- Instance: Select the existing Linux compute instance
- Device path: Leave unspecified
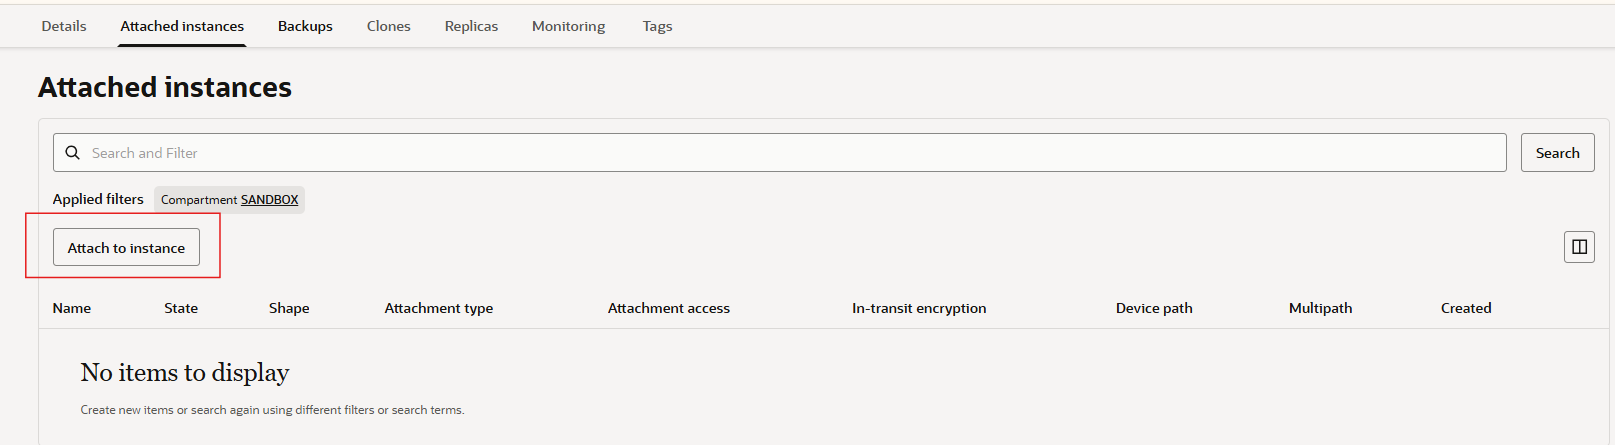
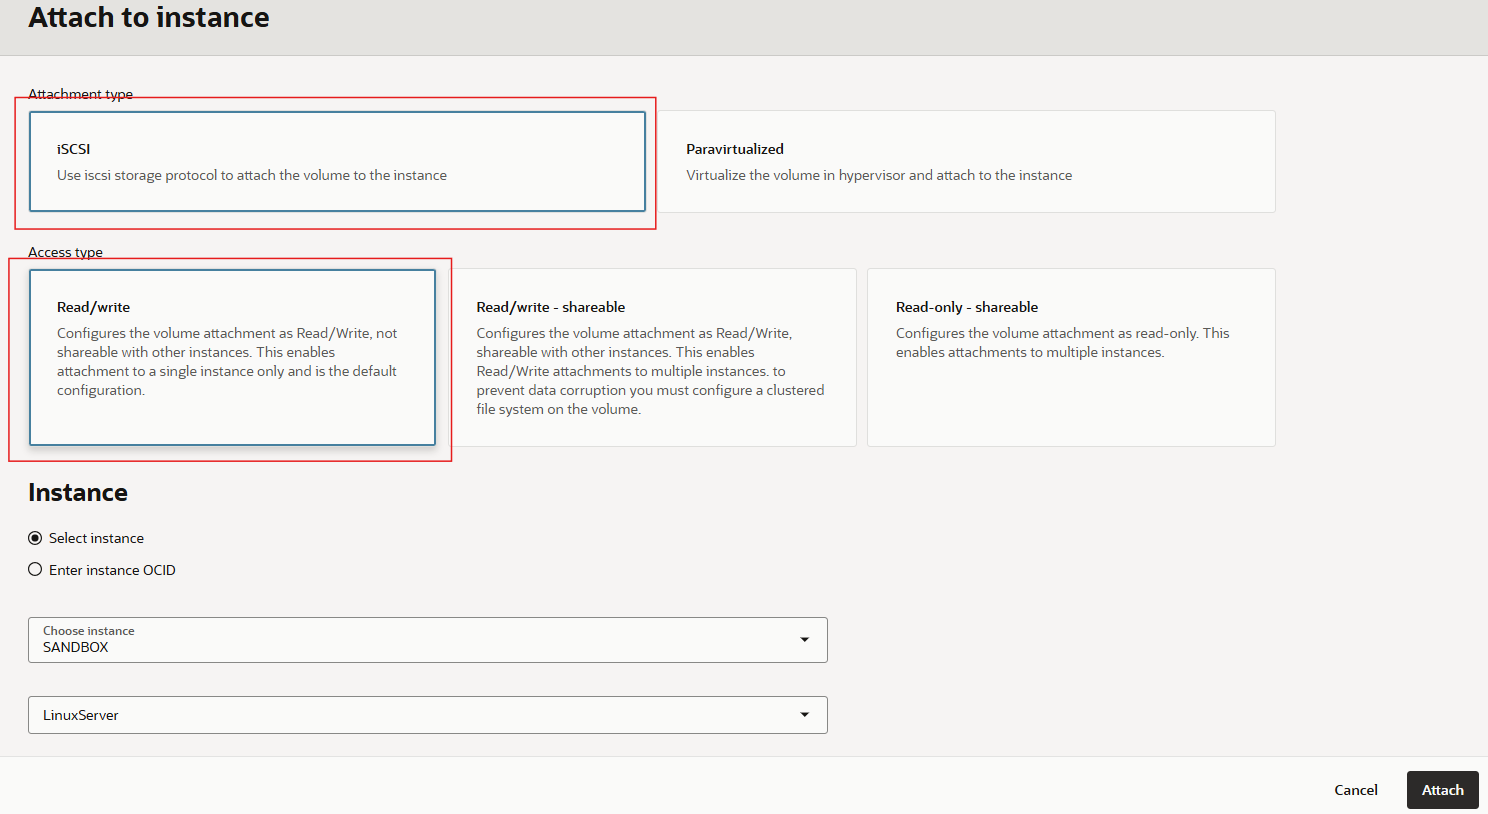
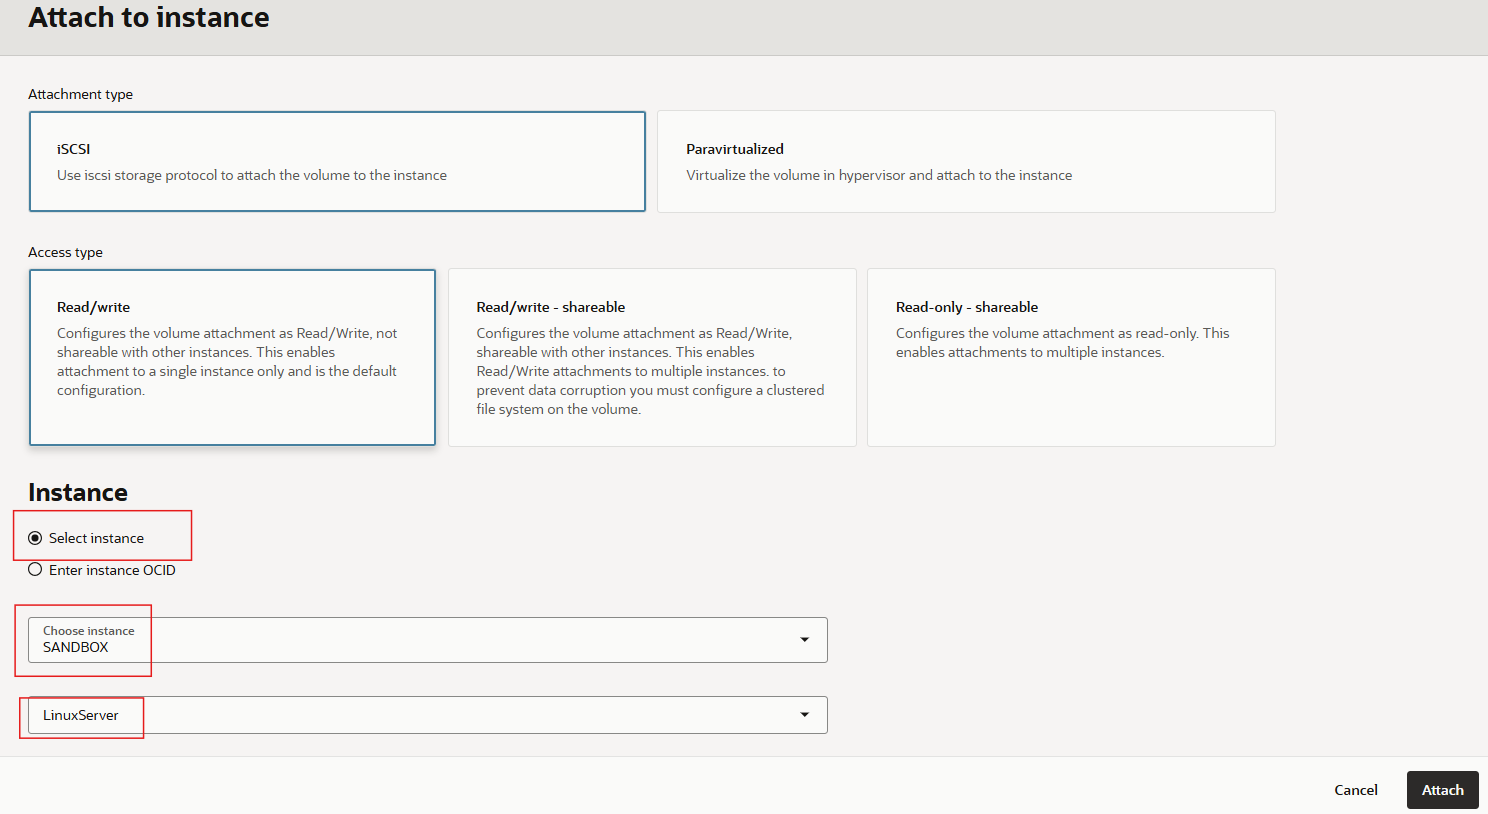
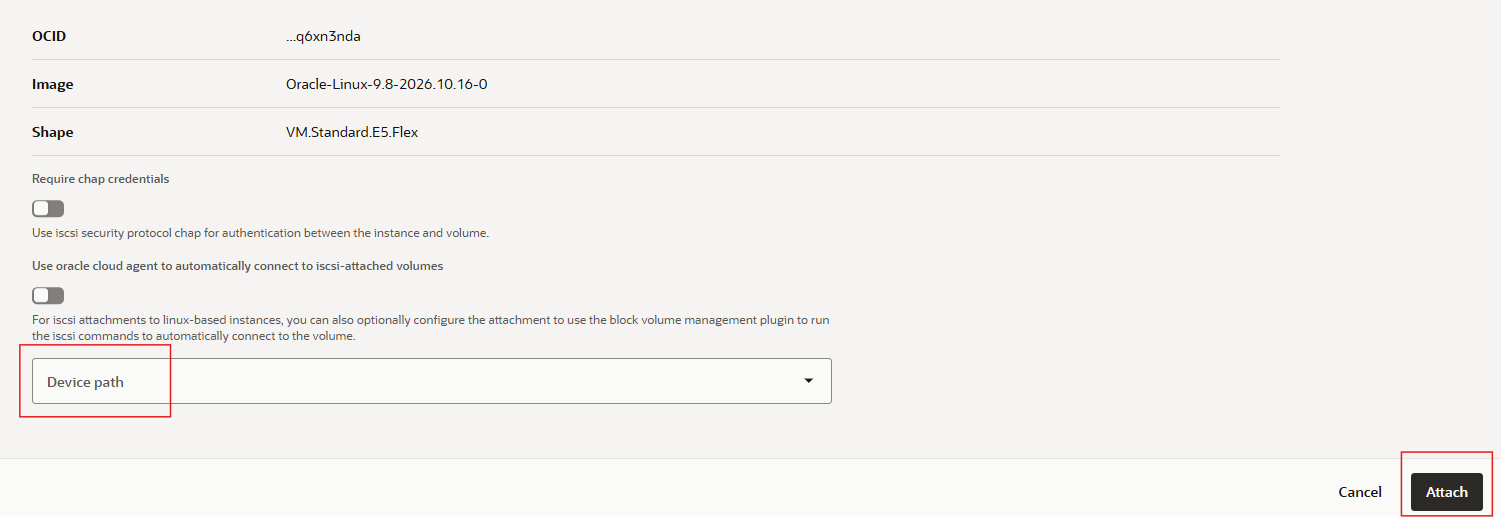
Click Attach and wait until the attachment is shown in the Attached state.
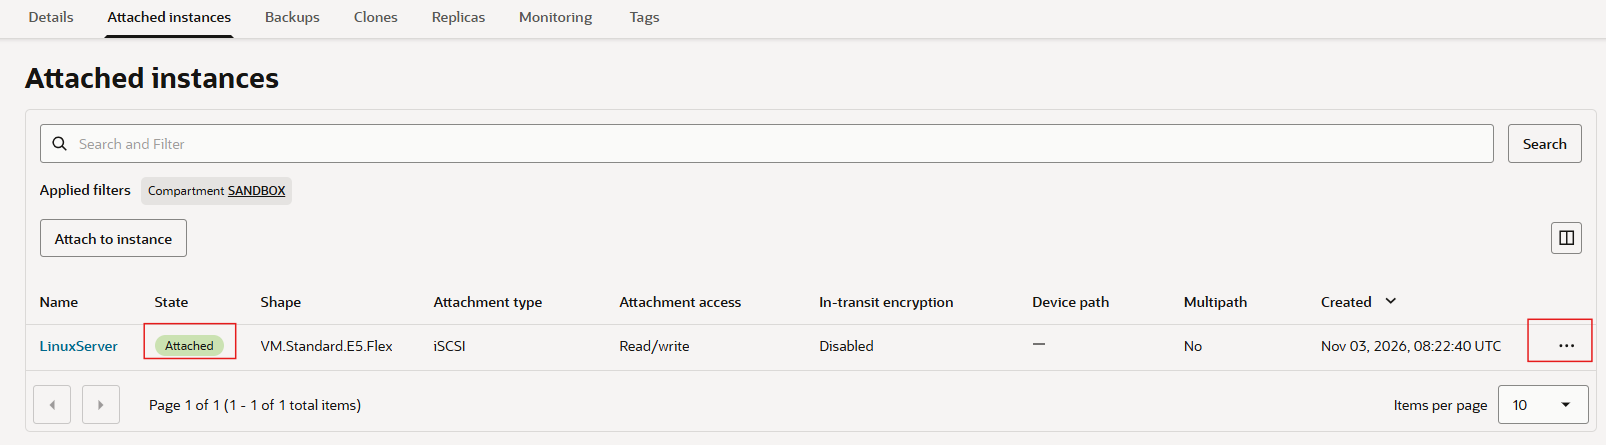
7. Connect the iSCSI volume inside Linux
An iSCSI attachment in the OCI Console does not automatically guarantee that the Linux operating system has established the iSCSI session. In Attached Instances, open the attachment's three-dot menu and select iSCSI IPv4 Commands & Information.
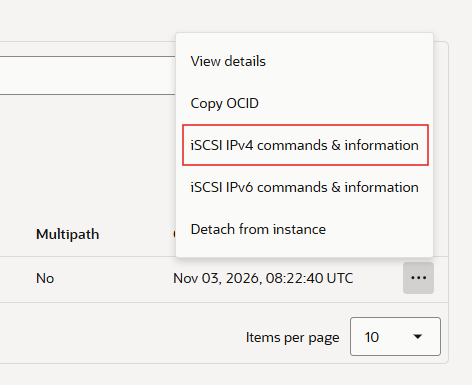
Copy the instance-specific iSCSI commands supplied by OCI. Connect to the Linux server over SSH and execute those commands with appropriate sudo privileges. The exact target IQN, IP address, and port come from your own OCI attachment and must not be copied from another environment.

Important: Follow the attachment's displayed commands and OCI's persistence guidance for your OS and attachment type. Avoid hard coding example target identifiers or IP addresses into production scripts.
8. Verify the disk in Oracle Linux
After the iSCSI login completes, check the available block devices:
fdisk -l
lsblk
In the example, the newly attached 100 GB disk appears as /dev/sdb. Your device name may be different, so identify the correct disk by size and device details before making changes.
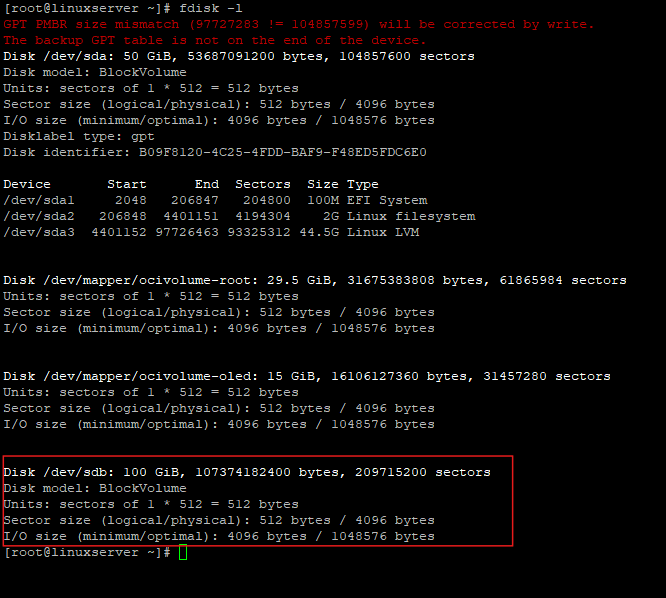
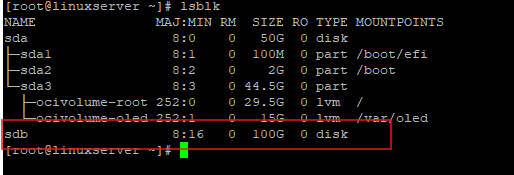
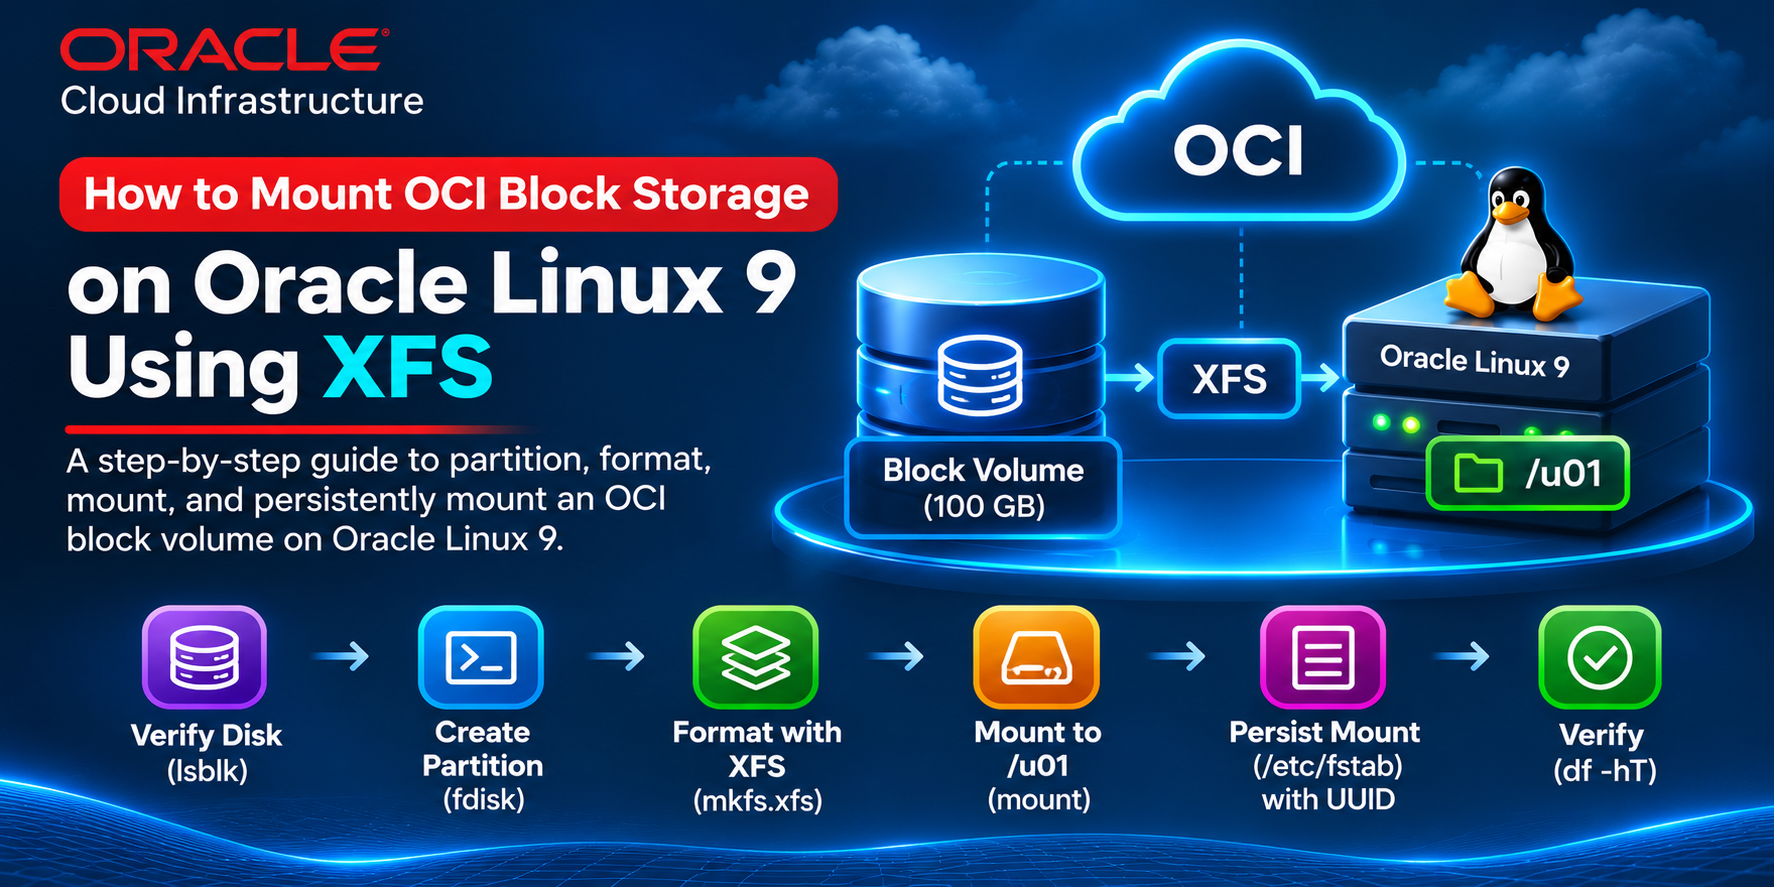
Do not format or partition a disk that already contains data. The steps above only attach and verify the volume. If the volume is new and empty, partitioning, filesystem creation, mounting, and /etc/fstab configuration are separate Linux administration tasks, they are not demonstrated in this example.
Conclusion
You have created an OCI Block Volume, selected its performance and backup settings, attached it to an existing Linux compute instance using iSCSI, and verified that the operating system can detect the disk. The next step, when required, is to prepare a filesystem and mount the volume for application use.
References – Oracle Official Documentation
About the author
- Cloud Evangelist passionate about Oracle Cloud Infrastructure (OCI), Oracle Database, and cloud technologies. Through this blog, I share technical knowledge, hands-on experiences, troubleshooting tips, and best practices from real-world implementations.